

How can I add, delete, and copy timesheet rows?
How can I add, delete, and copy timesheet rows?
January 01 2022 • 1 min read

If you work on more than one project, task, or activity, you may need to add rows when entering time in your timesheet. You might also want to copy rows to save time, or delete rows you don’t need anymore.
Adding a row
In a duration-based timesheet
Depending on which version of the duration-based timesheet you use, to add a row either:
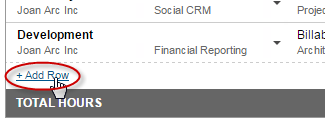
- Click Add Row at the bottom the time entry grid
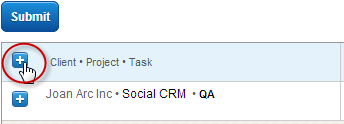
- Or, click the
 icon in the top, left-hand corner of the timesheet
The new row displays at the bottom of your timesheet.
Copying a row
In a duration-based timesheet
You may want to copy a row if, for example, you want to use some of its settings for a different project or task, or use the same task with a different activity or billing option selected.
Depending on which version of the duration-based timesheet you use, to copy a row either:
- Click the icon, if available, in the row you want to copy.
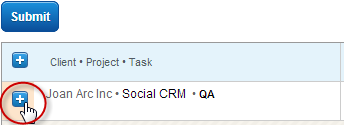
The new row will display directly under the copied row.
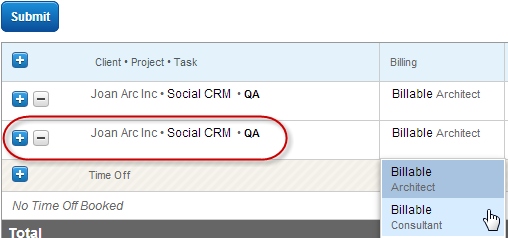
- Or, click the
 icon, and select Duplicate Row, in the row you want to copy.
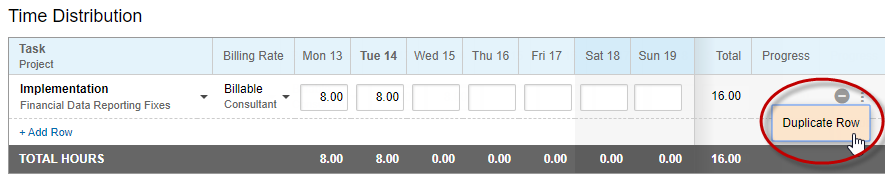
The new row will be automatically sorted into the correct position. Everything saved to that row except hours and comments will be copied.
Time must be entered in a row for it to be saved.
Deleting a row
You can delete a row that has time entered in it, though a prompt will appear asking you to confirm that you really want to delete that data.
To delete a row in duration-based timesheet, click the ![]() icon for the row you want to delete. In some versions of the timesheet, the icon is shown as
icon for the row you want to delete. In some versions of the timesheet, the icon is shown as ![]() .
.
Subscribe to receive updates
Our newsletter covers the latest audit news, industry best practices, workforce strategies and insights